Can You Make Custom Instagram Filters?
I’m sure you know how popular Instagram filters are these days. Every time you tap on an Instagram story, chances are, the user is using an Instagram filter of some sort. There are thousands of custom Instagram filters out there, but what happens if you’re not able to find one that perfectly suits what you want?
You create your own custom Instagram filter, of course!
Instagram Stories has used augmented reality (AR) filters since it launched its face filters in 2017. AR filters allow virtual effects and graphics to layer over a camera display. Usually, the graphics will match a detected face, so it’ll follow your movement and make it seem like it’s matching your actions. Think the famous dog filter – where puppy features appear and follow wherever your face moves.
With the launch of Facebook’s Spark AR Studio, anyone can now make their own Instagram filter, and the possibilities are endless!
Are you interested to learn all there is to know about Instagram filters in general? Check out how you can use them to upgrade your Stories.
Why Should I Go To The Lengths to Make a Custom Instagram Filter?
The main point is that custom Instagram filters allow for an interactive experience for your audience. Besides promoting your brand, you’re telling your consumers that you’re fun and in-trend, which builds your community and sets a positive brand image.
If your filter is engaging, your audience may also record and post filters on their own Instagram story! You will reach a broader audience; making your custom Instagram filter can serve as a one-time marketing campaign investment.
Check out our article about Instagram marketing campaigns if you’re looking for a non-exhaustive list of the best ways to grow your account.
If you’re not running a business account, and you’re not interested in marketing your account.. Well, you can just make custom Instagram filters for fun! It’ll certainly be a conversation starter if you need it to be.
How Do I Make My Own Instagram Filters?
Good news, anyone can now create their own custom Instagram filter with Spark AR Studio! Owned by Facebook, the platform allows you to create AR filters for Instagram Stories as well as Facebook Stories and Messenger.
Here’s a step-by-step guide on how to use Spark AR Studio to create your own custom Instagram filters!
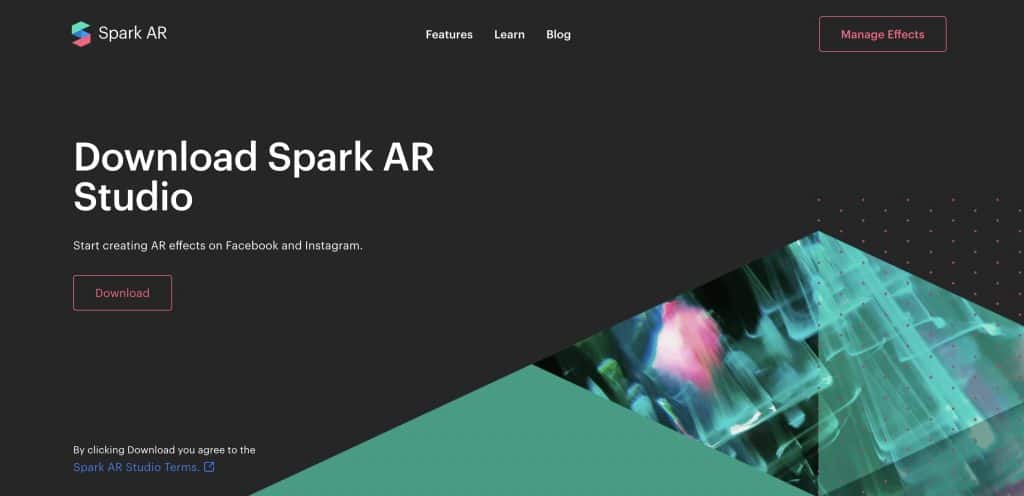
Step 1: Download Spark AR Studio On Your Desktop
You will first need to download Spark AR Studio onto your desktop.
You can go onto the site and navigate to their Download page. It is available on both Windows and Mac.
Step 2: Go Through The Tutorials
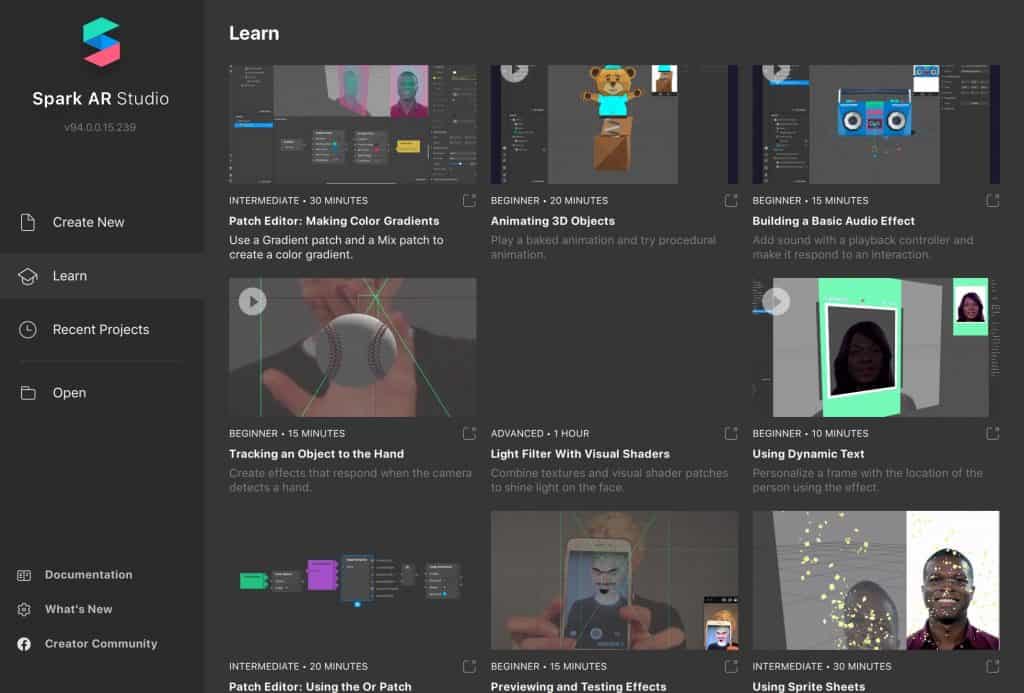
Once you’ve installed and set up the software, spend some time going through it to familiarise yourself with the interface.
You’ll find various tutorials under the ‘Learn’ tab on the software. The tutorials range from beginner fundamentals to advanced techniques. None of them is longer than thirty minutes, so take your time going through them!
Step 3: Start With a Template
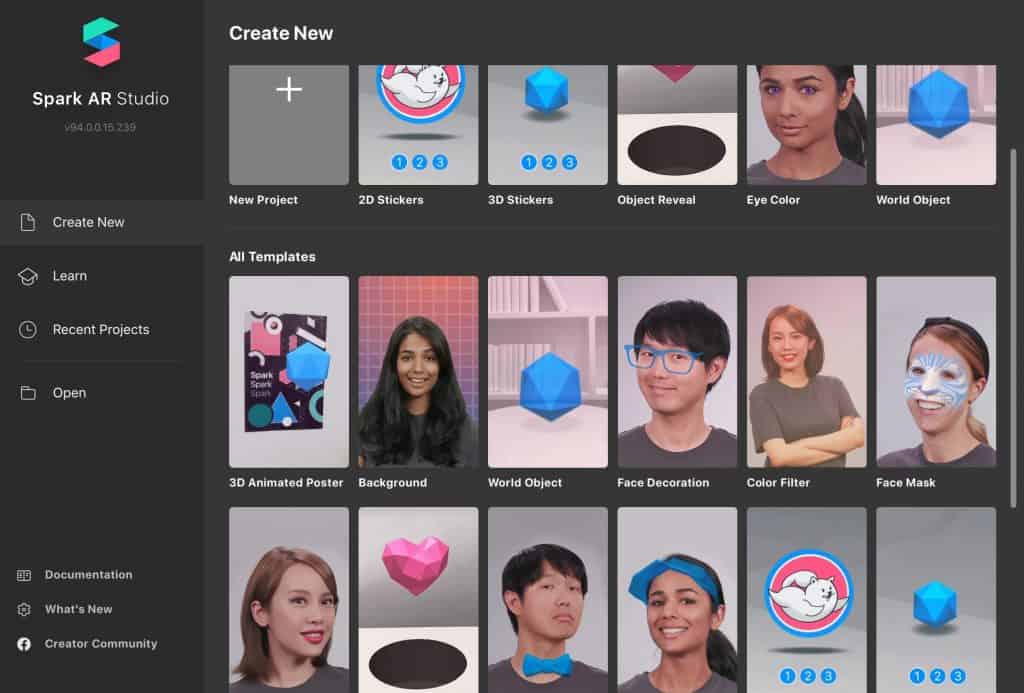
You can jump into making your own custom Instagram filters from scratch, but we recommend you start with any of the templates provided. The templates are self-explanatory, and offers easy customisation and step-by-step guides once you’re in the interface itself.
Step 4: Getting To Know The Tools
While the interface is user-friendly, it may still be a challenge if you’re new.
Once you’ve chosen your desired template, you’ll be redirected to a screen with a mock-up of your filter. On the right, you’ll see an iPhone 8 preview window, where you’re able to select and resize the preview to a different iOS or Android device.
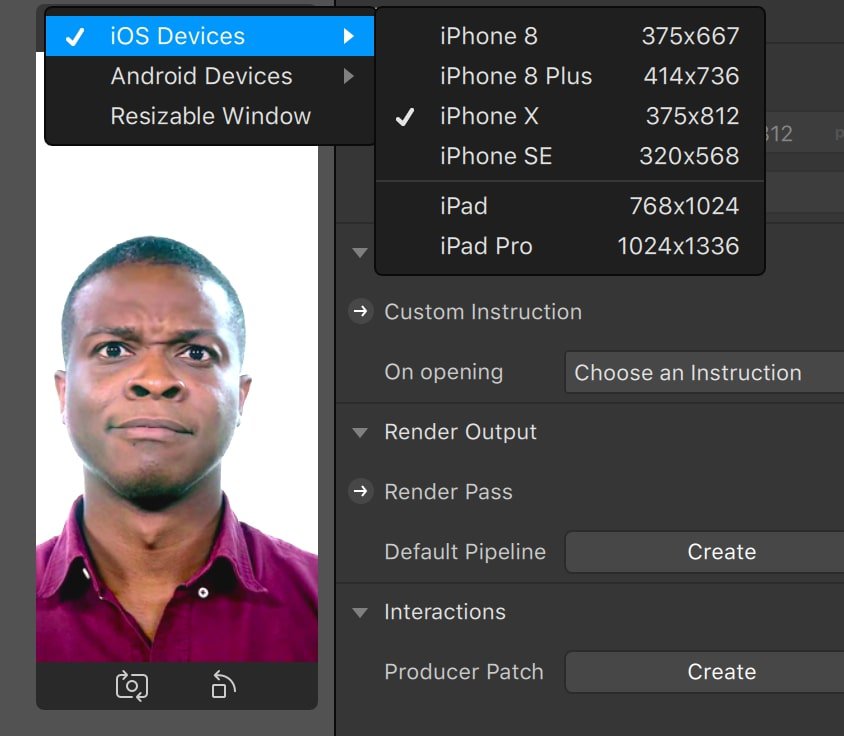
While filters will mostly look the same on any screen, it’s best to design it directly on your preferred screen to ensure that it looks exactly the way you want it to.
Other than that, experiment with the different functions available. In our case, having chosen the ‘colorFilter’ template, we were able to pull up a table of settings which we played around with, making up the base of the filter. This included the brightness and saturation of the filter, which is something you definitely can’t control when you’re taking live videos on Stories itself!
The default settings will be different for each template. Take your time to play around with the options and follow the step-by-step guides that are there to help you.
A pro-tip: you can add more ‘scenes’ on your workspace, which essentially lets you combine different effects on one filter!

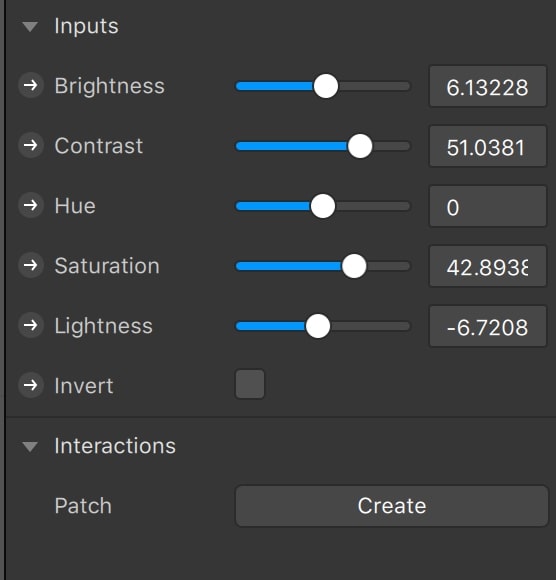
Play around with the features to your preference. Let your creativity run wild!
Step 5: Preview Your Custom Instagram Filter
Once you’re happy with what your filter looks like, you can test it by clicking on the phone icon on the bottom left of the tools panel. From there, you can directly send your file to Facebook or Instagram to test it out. Alternatively, you can download AR Sparks Player that’s both available on iOS and Android to directly test your filter!
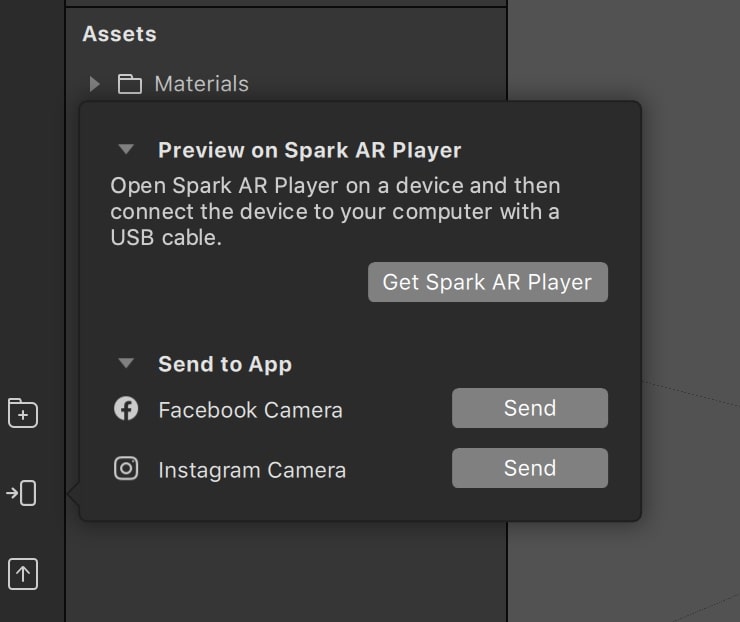
Step 6: It’s Time to Publish Your Own Instagram Filter!
Once you’re happy with what your custom Instagram filter looks like, you can finally publish it! Click on the icon right below the preview icon to do so. Before that, make sure that your filter abides by the additional guidelines set in place for Instagram filters, which you can read more about here.
Once you’ve submitted it, your filter will have to go through an approval before it gets published on Instagram. This may take up to a week. You’ll also be prompted to answer some questions on the nature of your filter so that it can be categorised correctly in the Effects Gallery on Instagram.
If your filter is promotional or branded, it will only appear under the Filters tab on your business’ Instagram account. This is great as potential followers will have to go to your Instagram account to access your filter – which means extra exposure!
Custom Instagram Filters, In Conclusion…
They’re fun, they serve a purpose, and they’re easy to make with Spark AR Studio. Try making one for yourself and get creative! If you’re a brand, utilise this tool to reach a younger audience. The possibilities are endless, so good luck and have fun!

